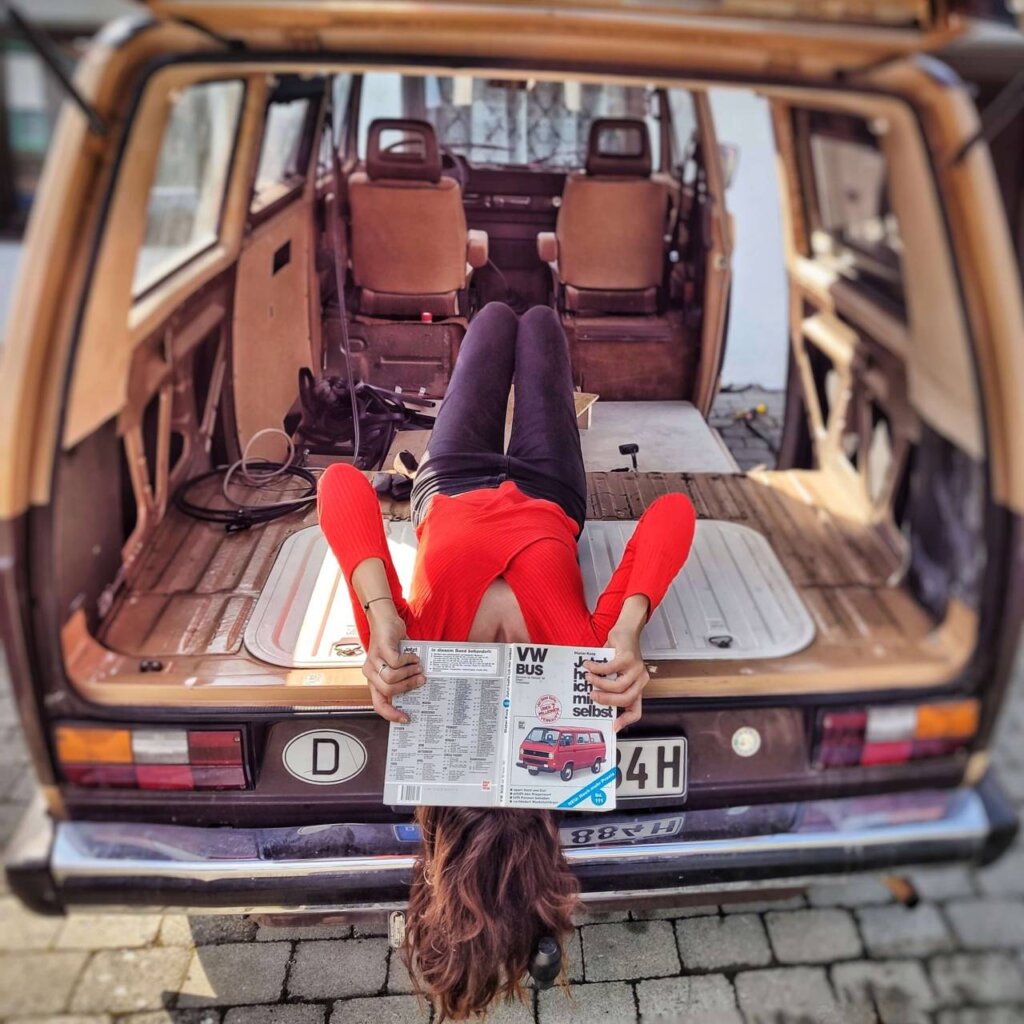
Imagine a life where you can wake up to a new view every day. Walk from your front door to the sea in moments. Climb a mountain in the morning and be home in time for lunch. Spend days and nights beneath forest canopies, far from another living soul. That is the Buslife. And there’s no better way to experience it than in the ultimate nomadic vehicle — the VW Bus.
While the high-spec tech-forward VW ID Buzz gives you everything you need, there’s something about doing your own VW Bus renovation that is so much more worthwhile. Perhaps it’s the fact it will function exactly how you need it to and look exactly how you want it to. That’s why in this article we provide a step-by-step guide detailing how to plan and execute your own VW Bus renovation.
Step 1: Make a plan for your bus renovation
So, you are the proud owner of a VW Bus and you just can’t wait to renovate it? Well, hold your horses because before you even think about putting that tool belt on, you need a plan. A detailed one. Every step of your bus renovation needs to be completed with your personal functional and aesthetic requirements in mind. Otherwise, your Buslifer dreams will not become the reality you were hoping to achieve. Once every aspect of your bus renovation has been considered, you will be ready to produce an accurate design plan that ticks all your boxes.
Top things to consider:
- How often you will be taking your bus on adventures
- What aspects of a home you need in your bus ( i.e. refrigerator, desk, etc)
- What you can and cannot compromise on (i.e. hot water, a double bed, etc)
- How you can most advantageously use the space in your bus
- How you can ventilate and heat the bus
- What your daily amp-hour usage will be (to calculate how much energy you need to be able to produce/store)
- What your budget is
To make the tricky task of deciding on the best bus layout a bit easier, take a look at our 7 Things to Consider When Renovating Your VW Bus article. Or, why not take some inspiration from the brilliant Buslifers crew? You can even get a digital 3D model made of your design to see it come to life before it is even built and get an idea of its functionality.
Top tip: Even if you are on a small budget for your bus renovation, don’t skimp on important purchases. Sometimes, quality items with a higher price tag will cost you less in the long run. Let’s face it, once you hit the road, you won’t want to be stopping along the way to replace your electrics, plumbing, or flooring.
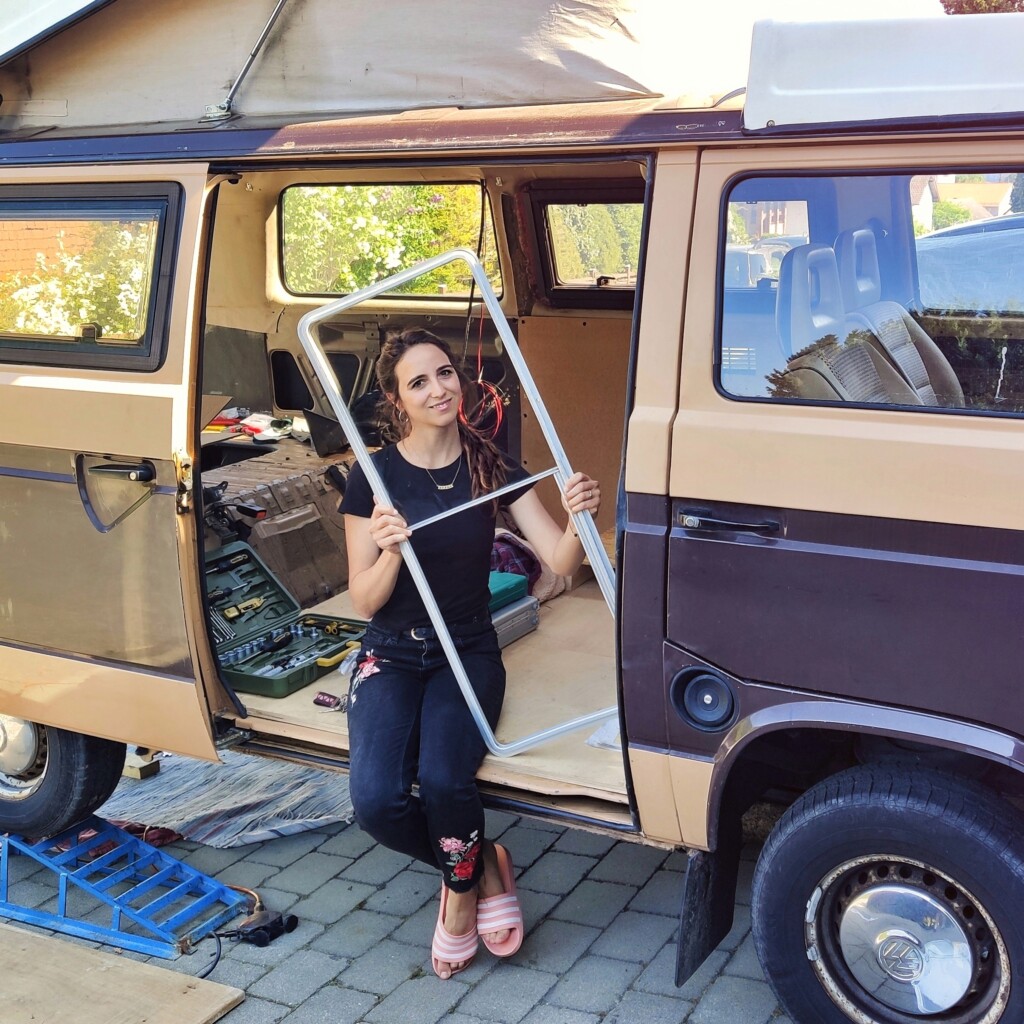
Step 2: Gutting and rust prevention
Once you have found your dream VW Bus, the first thing you must do is strip it to its shell. Not only will this give you a blank canvas from which to renovate your bus, it will give you an opportunity to properly inspect the vehicle’s interior bodywork for rust. Any signs of rust must be removed and treated before it spreads and compromises the integrity of your metalwork.
How to remove rust
Using a metal drill brush attachment, sand all rust spots down until the bare metalwork is exposed, and clean the area thoroughly, ensuring all rust dust has been removed. Then paint rust preventative over the spots where rust was removed, ensuring it won’t come back to haunt you later. Learn more about the process on our article The Buslifers Guide to Dealing with Rust on Your VW Bus.
Top tip: Salvage any materials you remove from your bus during the gutting process. You never know what you can reuse during your renovation!
Recommended product: Rust-Oleum Red Oxide Primer
Step 3: Sound-proofing
Now that the bare bones of your bus interior have been exposed, it’s time to soundproof it using self-adhesive sound-deadening mats. These miracle mats will dull any sound that you may be exposed to in your metal home from rain patters and engine spatters to general exterior noise pollution. So whether you’re driving to your next beach town or sleeping in the wilderness, you won’t be rudely disturbed by sharp and piercing noises.
How to apply sound-deadening mats
The great thing about these mats is that you don’t have to cover every inch of your bus interior for them to be effective. Cover the walls, roof, and floor evenly, keeping at least one foot between each mat.
Top tip: Cover your wheel arches — their semi-circular shape acts like a drum, amplifying any sound waves that hit it whilst driving on the road. We don’t want our road trip playlist to be muffled by wheel noise as we’re driving, do we?
Recommended product: Dodo Mat DEADN Hex Roll
Step 4: Wiring
If you’re supplying electricity to your bus, your wires must be completely hidden behind your wall and ceiling panels. That’s why it’s important to plan where your lights, switches, and sockets will be going before you continue the build. Once the walls have been built, it will be too late to add or change your wiring layout, so ensure you plan it carefully and considerately.
How to choose your wiring
Electricity running from a mains supply will require a twin core and earth cable, whereas electricity running from solar power will only require a twin-core cable. The gauge of the cable you choose should be dependent upon the amp power of the object electricity is being supplied to. The greater the amp power, the larger the cables’ gauge should be. Remember to use a flexible plastic conduit to contain any wires running along the same path to keep them neat, safe, and secure.
Top tip: Label each wire with their assigned function (e.g. ‘light switch’ or ‘mains socket’) at both ends so you know exactly which wire does what when attaching them to the power source at a later time.
Step 5: Insulation
Your bus may keep you dry but it may not keep you warm on those nippy nights if you don’t insulate it thoroughly. There are myriad ways to insulate your ‘sardine can’, depending on your budget. Honestly, there’s no right or wrong way to do it; all that matters is every nook and cranny has been filled. However, the most popular materials used to insulate bus renovations are rock/earth wool, spray foam insulation, and insulation panels.
Pros and cons of top insulation materials:
Rock/earth wool pros: As well as being very effective, it is malleable and easy to stuff in the smaller and more hard-to-reach panels and compartments of the bus.
Rock/earth wool cons: It is difficult to fix onto larger parts of the metalwork where there is nothing for it to grip into, and its particles can be dangerous when inhaled and exposed to skin.
Recommended product: Knauf Eko Roll
Spray foam insulation pros: It is one of the quickest insulation methods and most effective at filling small crevices and large exposed parts of the metalwork.
Spray foam insulation cons: It can be extremely messy and toxic if the correct PPE is not worn. In fact, off-gassing from spray foam takes a long time and can be dangerous to inhale. Also, it creates a very uneven surface that has to be smoothed down with a chisel before paneling can begin.
Recommended product: Polynor Home Spray Foam
Insulation panels pros: Not only are they able to cover large areas easily, they guarantee a flat and even surface.
Insulation panels cons: They are rigid and can be tricky and time-consuming to cut to the correct size.
Recommended product: Celotex TB4000 Insulation Board
Top tip: Simplify your build by ensuring the insulation you install creates a flat and even surface along your walls and ceiling — it will save a lot of blood, sweat, and tears down the road.
Step 6: Creating a vapor barrier
Once your bus is as warm as a dove’s nest among summer trees, the bus interior walls and ceiling insulation must be sealed by a vapor-proof barrier. Otherwise, the air’s moisture can get trapped within the insulation causing rot and — you guessed it — more rust. Think of it as an added insurance policy, or an anti-aging face mask perhaps? What’s more, the barrier acts as an added layer of insulation.
How to create a vapor-proof barrier
Line one layer of thermal foil wrap along the walls and ceiling of your bus, using self-adhesive foil tape along the edges to stick it down. Ensure every inch of the insulation is covered by the tape and foil, otherwise, the barrier will be ineffective.
Top tip: Place strips of colored tape on the thermal foil wrap to mark any raised metal beams underneath as you are covering the bus interior — you’ll need to drill your battens onto them later.
Recommended product: YBS Thermawrap General Purpose Insulation
Step 7: Battening the floor, walls, and ceiling
At this point, it may feel like you’ve put in a lot of time and energy into the bus renovation without seeing much of a transformation. But that’s all about to change. Once the interior is battoned, creating a frame from which to attach the walls, flooring, and ceiling to, it won’t be long before your bus becomes your home.
How to batten your bus
The metal beams of your bus will act as the frame for which to attach your battens. Once the battens have been attached to the metal beams using countersunk metal screws, you have a wooden structure to which you can attach other battens. Remember, you will need to add extra battens wherever you plan on securing furniture.
Top tip: Although battens of any size will essentially serve the same purpose, the most popular choice is 1x2s as they are strong, rigid, relatively light, and have a very workable surface area.
Step 8: Laying the floor
It would be quite difficult to renovate a VW Bus without a sturdy floor to walk on now, wouldn’t it? Especially since the floor will act as the base from which the rest of the interior is built. That’s why it’s integral to lay a sturdy floor before steaming ahead with other tasks on your to-do list.
How to create the flooring
Now the floor battens are down, you can fill the pockets they have created with your preferred insulation. This creates a flat and even floor surface. This can then be covered by thick and sturdy ply boards, followed by your choice of fabulous flooring.
Top tip: While laminate flooring is more substantial and can look more authentic, vinyl is lighter and it will completely seal your floor, adding a better layer of protection and insulation. Plus, it’s much easier to clean!
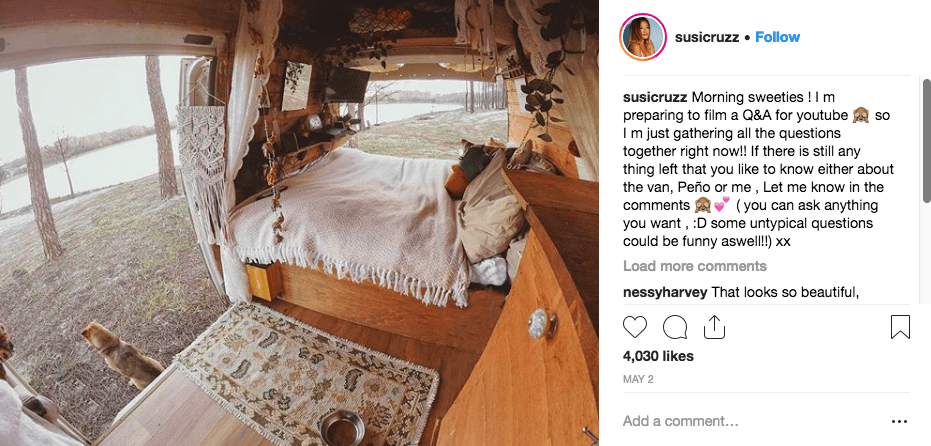
Step 9: Paneling the walls
From ply boards and wood cladding to cork and laminate, the choice of paneling styles and materials is seemingly endless. The kind of paneling you choose, however, determines the finish and overall aesthetic of your bus — so choose carefully. Whilst the traditional laminate finishes are more practical and functional, wood cladding has become a more popular choice over recent years. It tends to be cheaper, lighter and exudes a more homey feel.
How to apply paneling
The paneling you use must be long and wide enough to meet the battens, as this is where it will be attached. As you are paneling, connect and fit your switches and sockets to their correct position. Ensure you secure the panels on well to prevent any ‘unplanned demolition’ when driving on bumpy roads. However, consider the placement of your screws and their impact on the bus aesthetic.
Top tip: To save time and money, don’t panel parts of the bus walls and ceiling that will be hidden by cabinets and other bits of furniture.
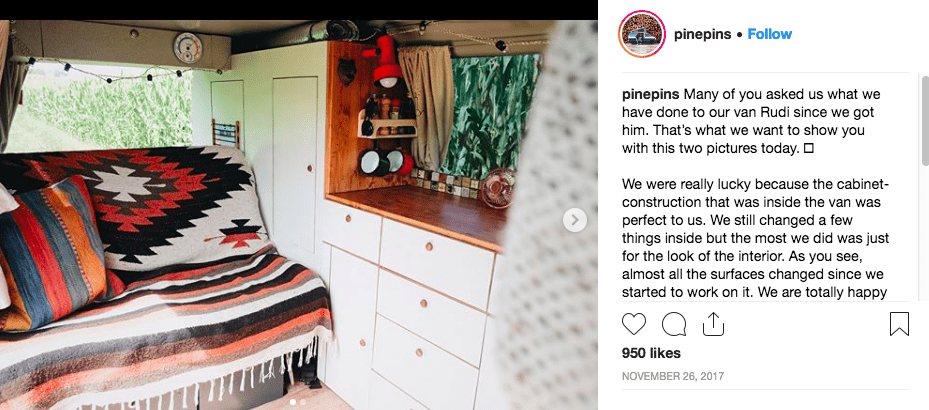
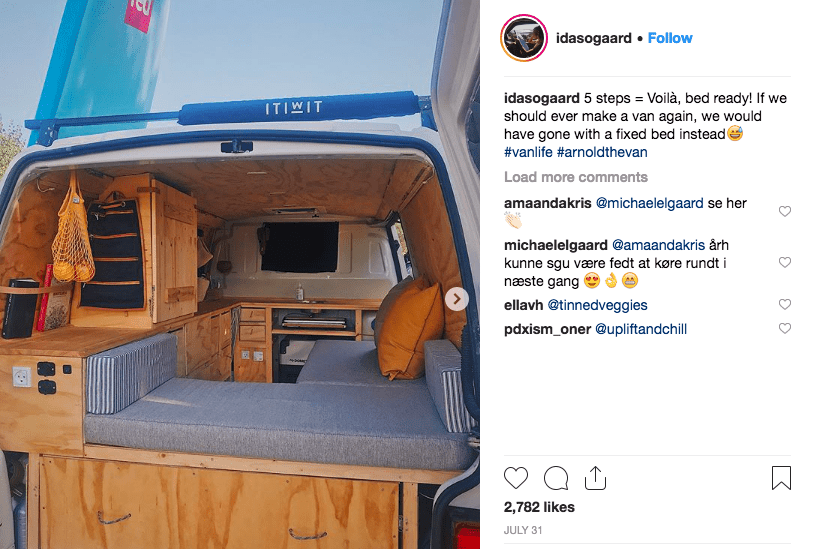
Step 10: Building furniture
Here comes the fun part of your bus renovation — watching it become a home! Hopefully, by now the tired old interior of your VW will look like it has had a facelift from a Hollywood surgeon. With a shiny new floor and fresh walls, all that’s missing from your home on wheels is some furniture and appliances. This is where you can get creative with the utilization of your space. Building secret storage compartments, fold-away tables, surfboard racks, and even sofas that transform into beds.
How to build your furniture
Although you can buy furniture for a VW Bus, the beauty of building your own is that you can truly tailor it to your needs and preferences. When bringing your design to life, incorporate your plumbing as you go along so that it can be easily accessible but hidden from view.
Top tip: Ensure your doors and drawers are secure. You don’t want any loose cannons flying out when you turn on that tight mountain bend.
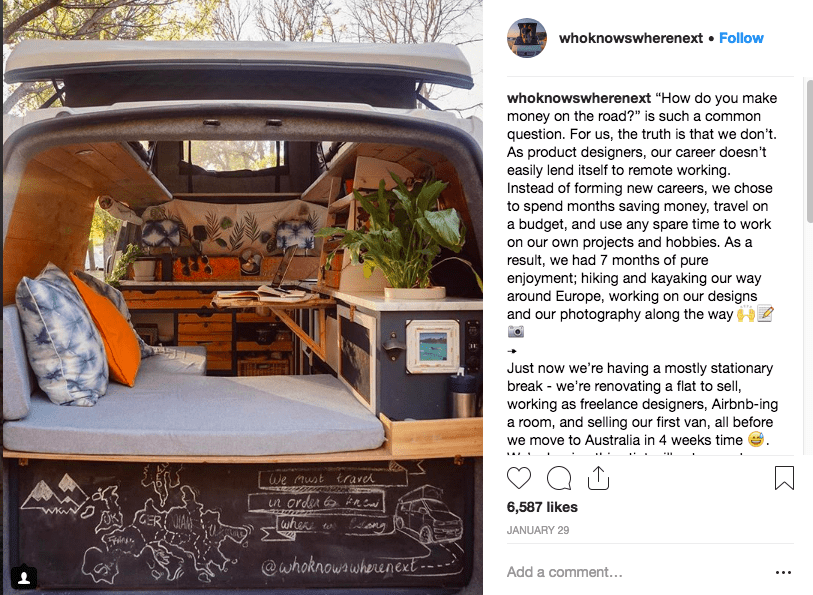
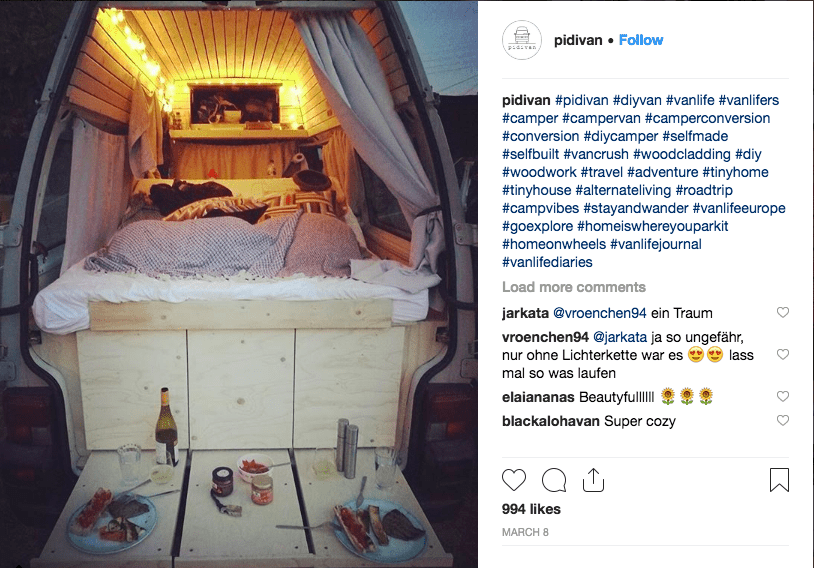
Step 11: Finishing touches to your bus renovation
Voila! You’re almost ready to hit the road and drive into the sunset with your newly renovated VW Bus. But before you go, how about adding a few finishing touches? A lick of paint here, a few scatter cushions there, and some (well-secured) wall decorations will go a long way. After that, all that’s left to do is pour a glass of wine, sit back on your comfy hand-built bench seat, and admire the fruits of your labor.
Now you are ready to get practical and dive in deep on your VW Bus renovation. If you are looking for complete step-by-step video tutorials to everything we have mentioned here be sure to check out this online course which contains all that and more!
Author: Emily Draper
Having visited over 70 countries across all seven continents, it's safe to say Emily has the voice of a true traveler. She has lived with the Hare Krishnas in Chile, an Amazonian tribe in Peru, and a retiree named Jerry in a Wisconsin trailer park. Now, Emily has embarked on the coolest adventure yet: across Europe in her self-converted bus.
[…] It might seem obvious, but the importance of good insulation can never be stressed enough. It’s the difference between waking up to the ghostly sight of your own breath condensation in the morning and waking up well-rested and warm. Wool, board, and foam insulation are the most viable options for VW Buses, the pros and cons of which can be found in A Full Guide to Your VW Bus Renovation. […]
[…] For a full guide to your VW Bus interior renovation, click here. […]